A32NX Starbuck’s Designer Cups v1.0
Mod require the FlyByWire A32NX.
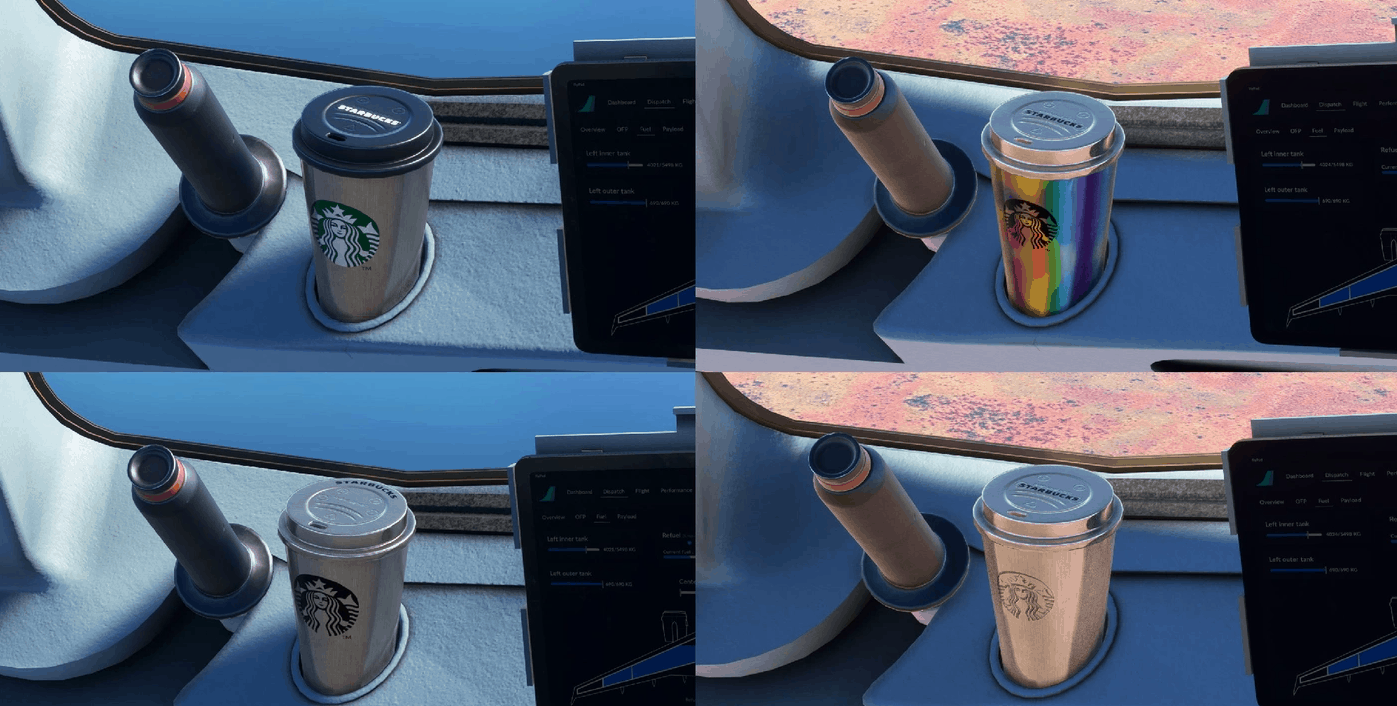
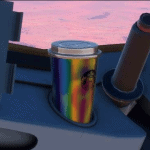
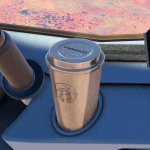
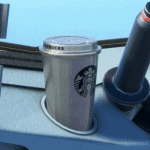
I was flying over the virtual landfill where all of the A32NX Cups are dumped. The pile is getting quite large, in fact. So, to solve the problem, I’ve created reuseable thermal cups. Now you can enjoy your coffee (or what ever your drink of choice may be) in a re-useable metal cup. Just wash and dry after your flight and you’re good to go for the next one. No more waste.
This pack includes 4 designer Starbucks Cups packed into one compressed file.
Installation is not going to be as simple as all of those paper cups, but it will be worth it in the end.
1) Make sure you know exactly where your community folder is on your PC. Here is a great guide to help you find it: How to find your Community Folder in MSFS2020
2) Install MSFS Layout Generator onto your desktop. If you don’t already have this on your desktop, go to https://github.com/HughesMDflyer4/MSFSLayoutGenerator and download the MSFS Layout Generator. Place the .exe onto your desktop for ease of use. We will be utilizing this software toward the end, so make sure you have it before we get there.
3) Download the .rar file from this page to a location outside of your main simulator folder. I let my computer put all of my downloads into my default download folder. It is located on my ‘C’ drive. You can choose any place that is easy to find once the download is completed.
4) Extract the compressed file. I recommend extracting the file into the same location as you downloaded the .rar file. Makes it also very easy to find.
5) Open the extracted file. Double click the folder or right click and choose ‘open’. This will open the main folder which contains four folders with the texture files for each of the cups. Each of the four folders have image files of the cups. Open the folders to view the images using an image viewer of your choice to decide which cup you want to install into your plane.
6) Choose the plane. We are not going to install these cups into the main FlyByWire folder. Doing that means all of your A32NX liveries will use the same cup. Instead, we will be installing individual cups into individual planes. To accomplish this, you need to choose which plane you want to use the cup of your choice in.
7) Good choice. I love that livery! Now, let’s get into the meat of the folder structure for the livery. Don’t worry, if you follow these instructions to the letter, everything will work perfectly. Like you’ve been doing this since you were a child. If you are a child, I am envious of you as when I was your age LED digital watches were being first introduced. I know, right . . . what the heck is and LED digital watch?!?!
8) Getting back on track. Sorry, my mind wandered off there for a second. Keeping the folder with the cup texture files open, open your community folder in another file explorer window. If you slide one to the left of your monitor it will stick on that half of the screen. Slide the other window to the other side and it will then fill the other half of the screen. Kewl, eh! Well, if you’ve never done it before it’s kewl.
9) In your community folder scroll to the title of the livery you want to use the cup in. Double click to open the file. For instance, if you have my Dodo Airlines liveries, scroll down to the folder “FBW_A32NX_D-AL01” and double click the folder icon. The folder will open to it’s first level of files. You will be coming back to this level a few steps from now, so take a good look at what is here so you will recognize it when we come back.
10) Double click on the file “SimObjects” to open it. This will reveal the “Airplanes” folder. Double click on the folder icon to open the Airplanes folder. The next level will be the base folder for the livery. In my case, this folder is called “A320_Neo_DAL01”. Yes, double click that folder icon to open it. The last folder to open is the “TEXTURE” folder. In my example here the folder is called “TEXTURE.DAL01”. Double click it’s folder icon to open it.
11) You are now almost as deep as you can go into your livery file structure. This is were we will overwrite files to make the cups magically appear. Ok, so it’s not magic. Hopefully you’ve copied and pasted files before. If not, it’s pretty simple. You should have your cup folder open which will have 6 files in it. Two .dds files, two .json files and the two image files. Copy and paste the two .dds files and the two .json files from the cup folder into the TEXTURE folder you have open for the plane you’ve chosen. To avoid any possible errors, copy each file individually and paste them individually into the TEXTURE folder. If you’re a pro at copy/paste, use your favourite way to accomplish the task. Otherwise just right click on the first .dds file and choose “copy”, then right click in a blank area of the TEXTURE file and choose “paste”. Do this for all four files. The two image files do not need to be copied as the sim will ignore them anyway. If your computer tells you the destination already has a file the same name as you are pasting, select “Replace the files in the destination” in order to overwrite the file. Once all four files are in the list of files in your TEXTURE folder, the scariest part is done.
12) Now you will want to get back to the folder mentioned in step 8. In file explorer you should see an up arrow to the left of the address bar. There are other symbols there as well, but we just need to click that up arrow until we arrive at the file you memorized the look of. You should only need to click it 4 times to get to where we need to be. There should be at least two files here (could be more). One of them is the “SimObjects” file we were just deep into. The other file that should be here is the “layout.json” file. If it’s not there, you are in the wrong place. If that is the case, find and open your community folder again, then follow steps 7 and 8. That will get you to the file we need. The “layout.json” will need to be edited in order for the sim to know to load the cup texture files we just installed (or overwrote).
13) Alright, the easy parts. Minimize the file explorer window with the cup. We don’t need that open any more. If you want to install other cups into other planes minimize the window. If you are done with cups, close the window. Make sure the MSFS Layout Generator.exe file is visible on your desktop. If not, move the file explorer window you still have open around until you can see the Layout Generator.
14) Left click and hold the “layout.json” file. Drag over on top of the MSFSLayoutGenerator.exe file on your desktop. The generator will recreate the layout.json file based on the folder structure and files within the livery folder. It will automatically include those files we just installed and/or overwritten. If you are comfortable opening the layout.json file because you’re curious whether it worked or not, go ahead and open it up and have a look. Yup, it worked!
15) Close the file explorer window the livery was in to make sure you don’t accidentally change something you will regret in the morning. Fire up MSFS. Load a flight or check out your hangar. Choose the livery you just added the cup to and have a look. There she is. Bright and shiny. Let’s go flying!
Note, if you were not already aware. Clicking on either cup will remove it from view. clicking in the area of the cup holder will bring it back.
I never require payment for any of my work. I never refuse it either. However, I do enjoy my coffee and, if you really like my work and feel like you want to do something nice for me, just buy me a coffee. I promise to drink it before it gets cold. I cheat, I use a thermal cup.




![[Ground Handling] Oneworld Textures v1.0](https://www.allflightmods.com/wp-content/uploads/2020/12/Ground-Handling-Oneworld-Textures-v1.0-520x245.jpg)
